Breeze Drawing: Your Ultimate Guide To Capturing The Wind On Paper
Hey there, creative souls! If you've ever wanted to bring life to your artwork by mastering the art of breeze drawing, you're in the right place. Whether you're an amateur artist or a seasoned pro, capturing the essence of a gentle wind can add depth and emotion to your creations. Breeze drawing isn't just about sketching leaves or hair; it's about conveying movement and energy. So, let's dive in and explore how to make your artwork breathe with life.
Have you ever stopped to think about how wind moves? It's invisible, yet its effects are everywhere. From rustling leaves to rippling water, the breeze leaves its mark. This guide will walk you through the fundamentals of breeze drawing, offering tips, tricks, and techniques to help you master this elusive element.
Before we get into the nitty-gritty, let me tell you something cool—breeze drawing isn't just for landscape artists. It’s perfect for anyone who wants to add realism and emotion to their work. So whether you're drawing portraits, still life, or fantastical scenes, understanding how to depict wind can take your art to the next level. Ready to get started? Let's go!
Why Breeze Drawing Matters in Art
Art is all about storytelling, and one of the most powerful ways to tell a story is through movement. Think about it—when you see a painting of a calm lake or a serene forest, it’s nice, but when you add the movement of a gentle breeze, it becomes alive. Breeze drawing allows you to convey emotions like tranquility, excitement, or even tension. It’s like adding a soundtrack to your visual masterpiece.
Let’s break it down: when you incorporate breeze drawing into your work, you're not just adding wind; you're adding atmosphere. Whether you're depicting a summer day or a stormy night, the way you portray the breeze can completely change the mood of your piece.
How Breeze Drawing Enhances Your Art
Here’s a quick rundown of why mastering breeze drawing is essential:
- It adds realism to your work by showing how elements interact with wind.
- It helps convey emotion and atmosphere, making your art more engaging.
- It showcases your skill in capturing movement, which is a key aspect of dynamic art.
So, whether you're sketching a field of flowers swaying in the wind or a character with flowing hair, breeze drawing is a skill worth mastering.
Understanding the Science Behind Breeze
Before we dive into the drawing techniques, it’s important to understand what breeze actually is. Simply put, a breeze is a gentle wind, usually caused by differences in temperature or pressure. But what does this mean for artists? Well, it means that when you’re drawing breeze, you need to think about how it interacts with different elements.
For instance, a breeze might cause leaves to rustle, grass to sway, or water to ripple. Each of these interactions is unique, and understanding them will help you create more realistic and convincing drawings. Let’s take a closer look at some of these interactions:
How Breeze Affects Different Elements
- Leaves: Breeze causes leaves to flutter and sway, creating a dance-like motion.
- Grass: Grass tends to bend and wave in the wind, giving fields a rolling appearance.
- Water: Wind creates ripples on the surface of water, adding texture and movement.
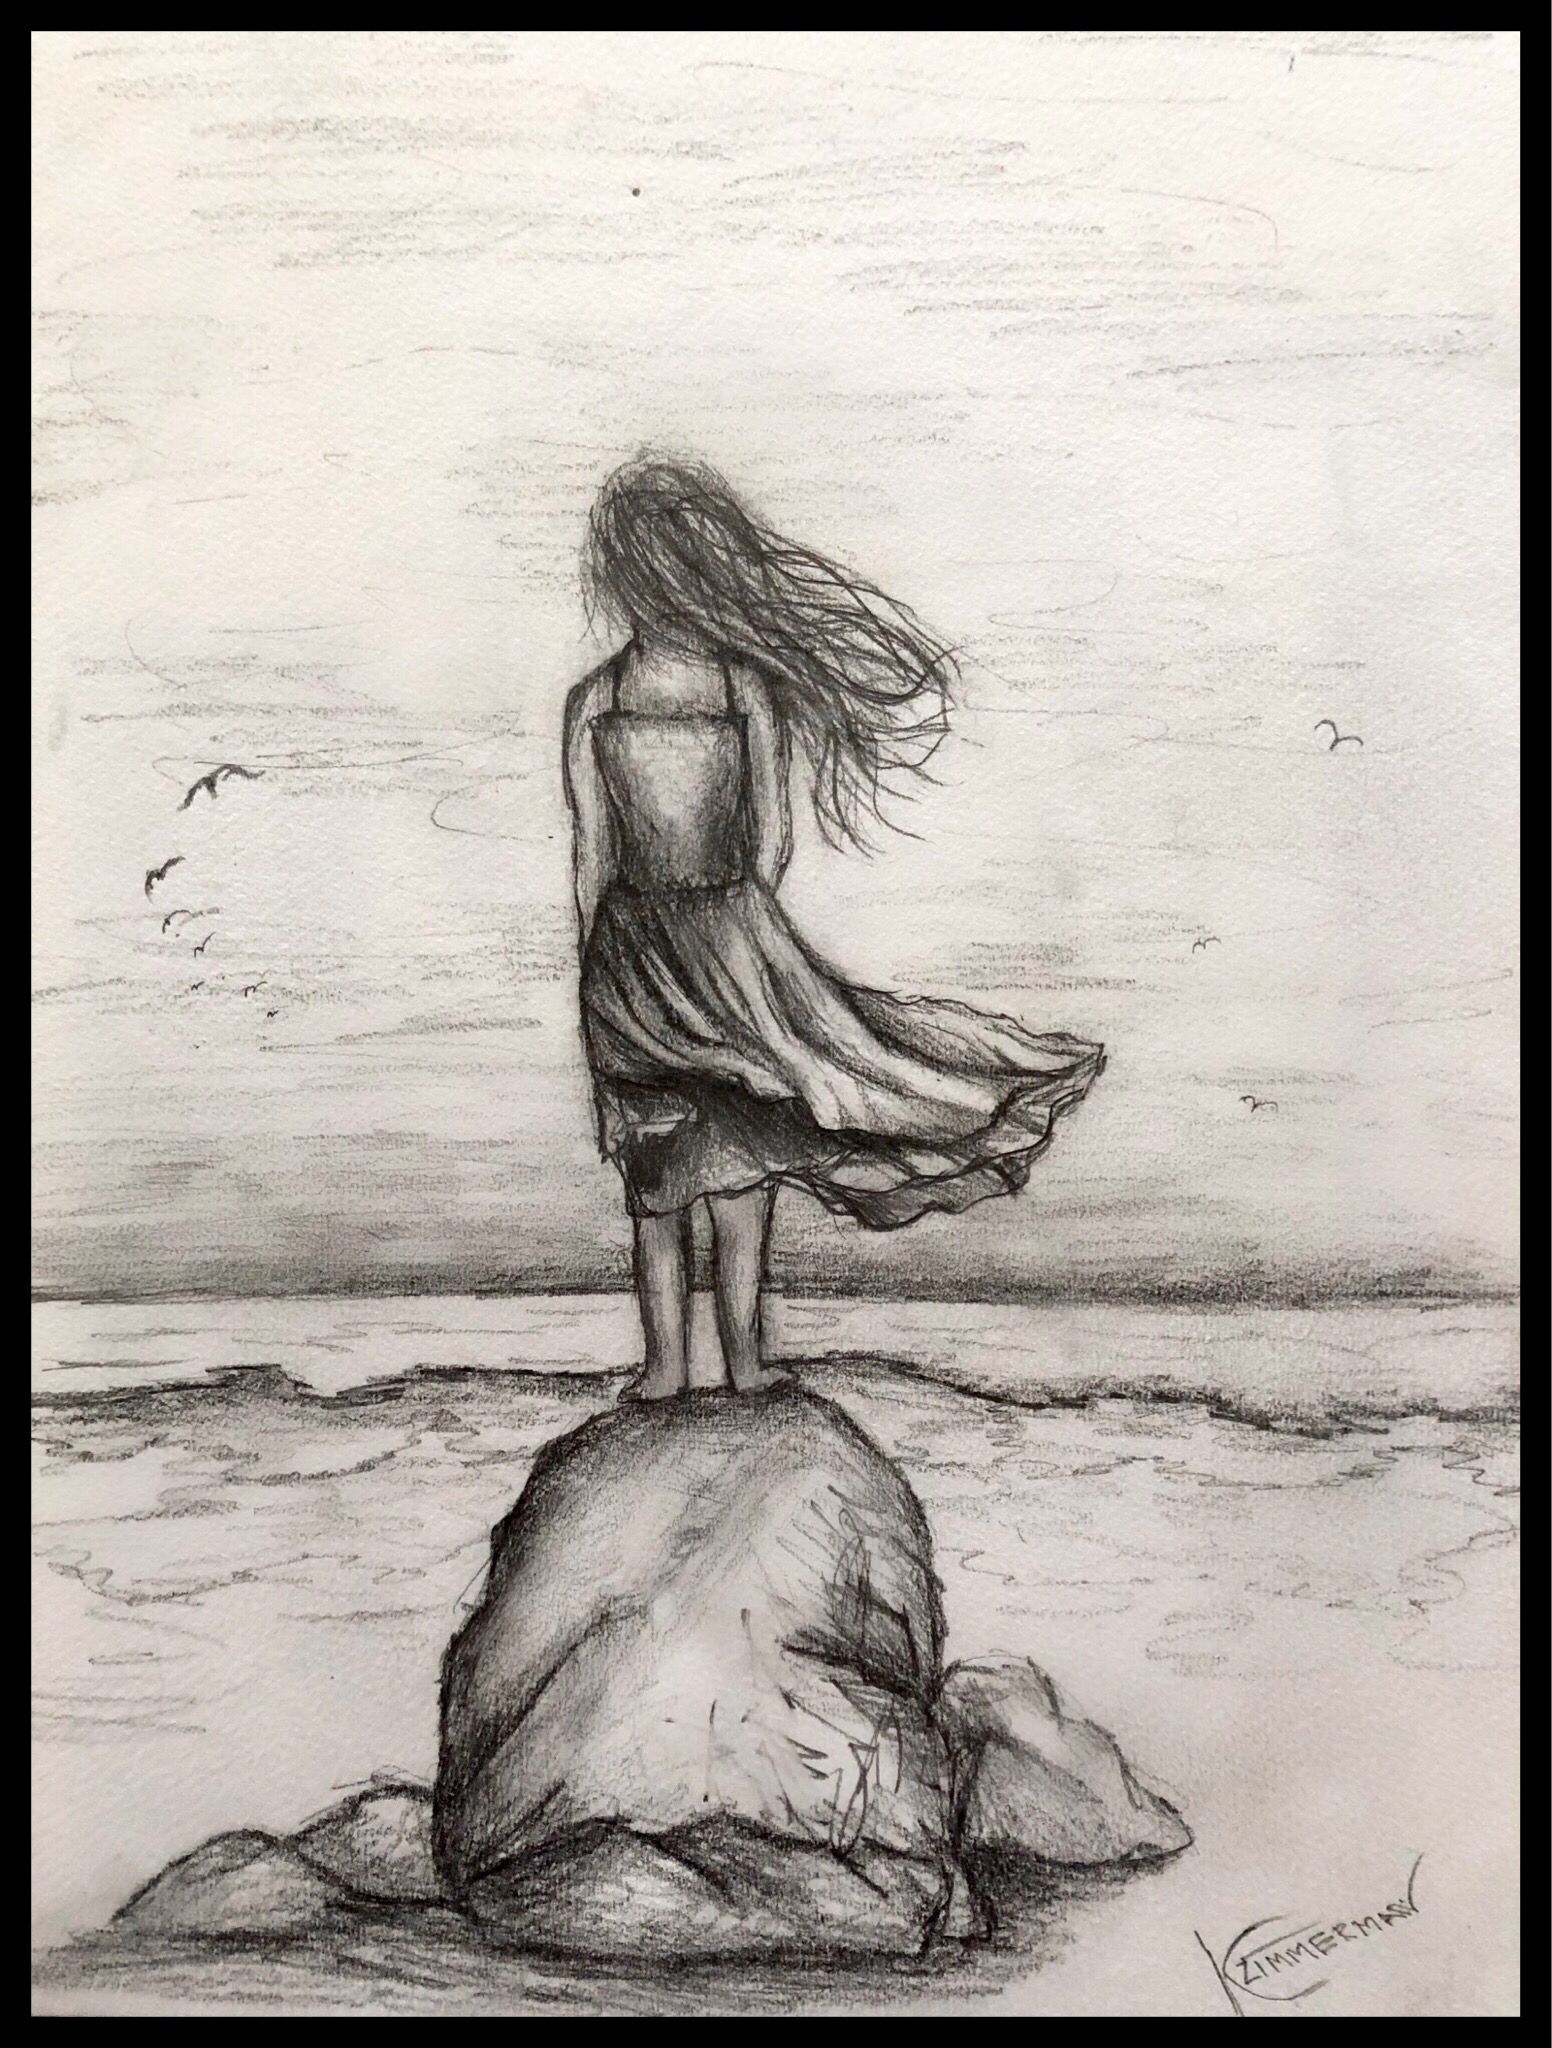
- Hair: Breeze can make hair flow and twist, adding drama to portraits.
By studying these effects, you can better capture the essence of a breeze in your drawings.
Basic Techniques for Breeze Drawing
Now that you understand the basics of what breeze is and how it interacts with different elements, let’s talk about how to actually draw it. The key to successful breeze drawing is mastering movement lines and texture. Here are some techniques to get you started:
Using Movement Lines
Movement lines are one of the most effective ways to depict wind in your drawings. These lines show the direction and flow of the breeze. For example, when drawing grass, you might use curved lines to indicate how the blades are bending in the wind. Similarly, when drawing hair, you can use flowing lines to show how it’s being lifted and twisted by the breeze.
Here’s a tip: don’t overdo it with movement lines. Too many can make your drawing look cluttered. Instead, use them sparingly to highlight key areas where the breeze is most noticeable.
Adding Texture
Texture is another important aspect of breeze drawing. When you’re depicting elements like leaves or water, adding texture can help convey the feeling of movement. For example, you might use stippling (tiny dots) to create the illusion of ripples on water or cross-hatching to add depth to swaying grass.
Experiment with different textures to see what works best for your style. Remember, the goal is to make your drawing look natural and dynamic.
Advanced Techniques for Capturing the Breeze
Once you’ve mastered the basics, it’s time to take your breeze drawing to the next level. Advanced techniques involve combining multiple elements and using shading to enhance the illusion of movement. Here are a few tips to help you refine your skills:
Combining Elements
One of the best ways to create a compelling breeze drawing is by combining multiple elements. For example, you might draw a field of grass with swaying trees in the background. Or you could depict a character with flowing hair standing near a rippling pond. By layering different elements, you can create a rich, dynamic scene that captures the essence of a gentle wind.
Using Shading
Shading is another powerful tool for enhancing the realism of your breeze drawings. By using light and shadow, you can create depth and dimension. For instance, when drawing leaves in the wind, you might use darker shading on the underside of the leaves to show how they’re catching the breeze. Similarly, you can use highlights to show how sunlight reflects off rippling water.
Don’t be afraid to experiment with different shading techniques to find what works best for your style.
Tools and Materials for Breeze Drawing
While the techniques you use are important, the tools and materials you choose can also make a big difference. Here are some recommendations for creating stunning breeze drawings:
Choosing the Right Paper
When it comes to paper, texture matters. For drawings that involve a lot of shading and texture, a paper with a bit of tooth (texture) can help your pencil or pen glide smoothly. On the other hand, if you’re working with watercolors or inks, you’ll want a heavier paper that can handle the moisture without warping.
Selecting the Right Medium
There’s no one-size-fits-all answer when it comes to choosing a medium for breeze drawing. It all depends on your personal style and preferences. Here are a few options to consider:
- Pencil: Great for detailed work and shading.
- Ink: Ideal for bold, expressive lines.
- Watercolor: Perfect for creating soft, flowing effects.
- Digital Tools: Offers flexibility and endless possibilities.
Experiment with different mediums to see which one best suits your vision.
Common Mistakes to Avoid in Breeze Drawing
Even the best artists make mistakes, and breeze drawing is no exception. Here are a few common pitfalls to watch out for:
Overcomplicating the Drawing
One of the biggest mistakes artists make when drawing breeze is trying to include too many details. Remember, less is often more. Focus on the key elements that convey movement and atmosphere, and don’t get bogged down in unnecessary details.
Ignoring Proportions
When drawing elements like hair or grass in the wind, it’s important to maintain proper proportions. For example, if you’re drawing a character with flowing hair, make sure the hair doesn’t look disproportionately large or small compared to the rest of the body.
By avoiding these common mistakes, you can create more polished and professional-looking breeze drawings.
Inspiration and References for Breeze Drawing
Looking for inspiration? There’s no shortage of great artists and artworks to draw from when it comes to breeze drawing. Here are a few sources to get you started:
Studying Nature
One of the best ways to improve your breeze drawing skills is by studying nature. Spend some time outside observing how the wind interacts with different elements. Pay attention to how leaves move, how grass sways, and how water ripples. These real-life observations can provide invaluable insights for your drawings.
Exploring Art History
Throughout history, many artists have masterfully captured the essence of wind in their work. Take a look at paintings by artists like Vincent van Gogh or Claude Monet to see how they depicted movement and atmosphere. You might be surprised at how much you can learn from their techniques.
Tips for Practicing Breeze Drawing
Like any skill, mastering breeze drawing takes practice. Here are a few tips to help you improve:
Start Small
Don’t try to tackle a complex scene right away. Start with simple elements like leaves or grass and gradually work your way up to more complex compositions.
Experiment with Different Styles
Don’t be afraid to experiment with different styles and techniques. Try drawing the same scene in pencil, ink, and watercolor to see how each medium affects the final result.
Remember, practice makes perfect. The more you draw, the better you’ll become at capturing the essence of a gentle breeze.
Conclusion: Embrace the Breeze
And there you have it—your ultimate guide to breeze drawing. Whether you’re a beginner or a seasoned artist, mastering the art of depicting wind can take your work to new heights. By understanding the science behind breeze, mastering basic and advanced techniques, and practicing regularly, you can create stunning, dynamic drawings that truly capture the spirit of the wind.
So, what are you waiting for? Grab your pencil, paper, and a cup of coffee, and start bringing the breeze to life on paper. And don’t forget to share your creations with the world—your art deserves to be seen!
Table of Contents:
- Why Breeze Drawing Matters in Art
- How Breeze Drawing Enhances Your Art
- Understanding the Science Behind Breeze
- How Breeze Affects Different Elements
- Basic Techniques for Breeze Drawing
- Using Movement Lines
- Adding Texture
- Advanced Techniques for Capturing the Breeze
- Combining Elements
- Using Shading
Happy drawing, and may your art always blow in the wind!
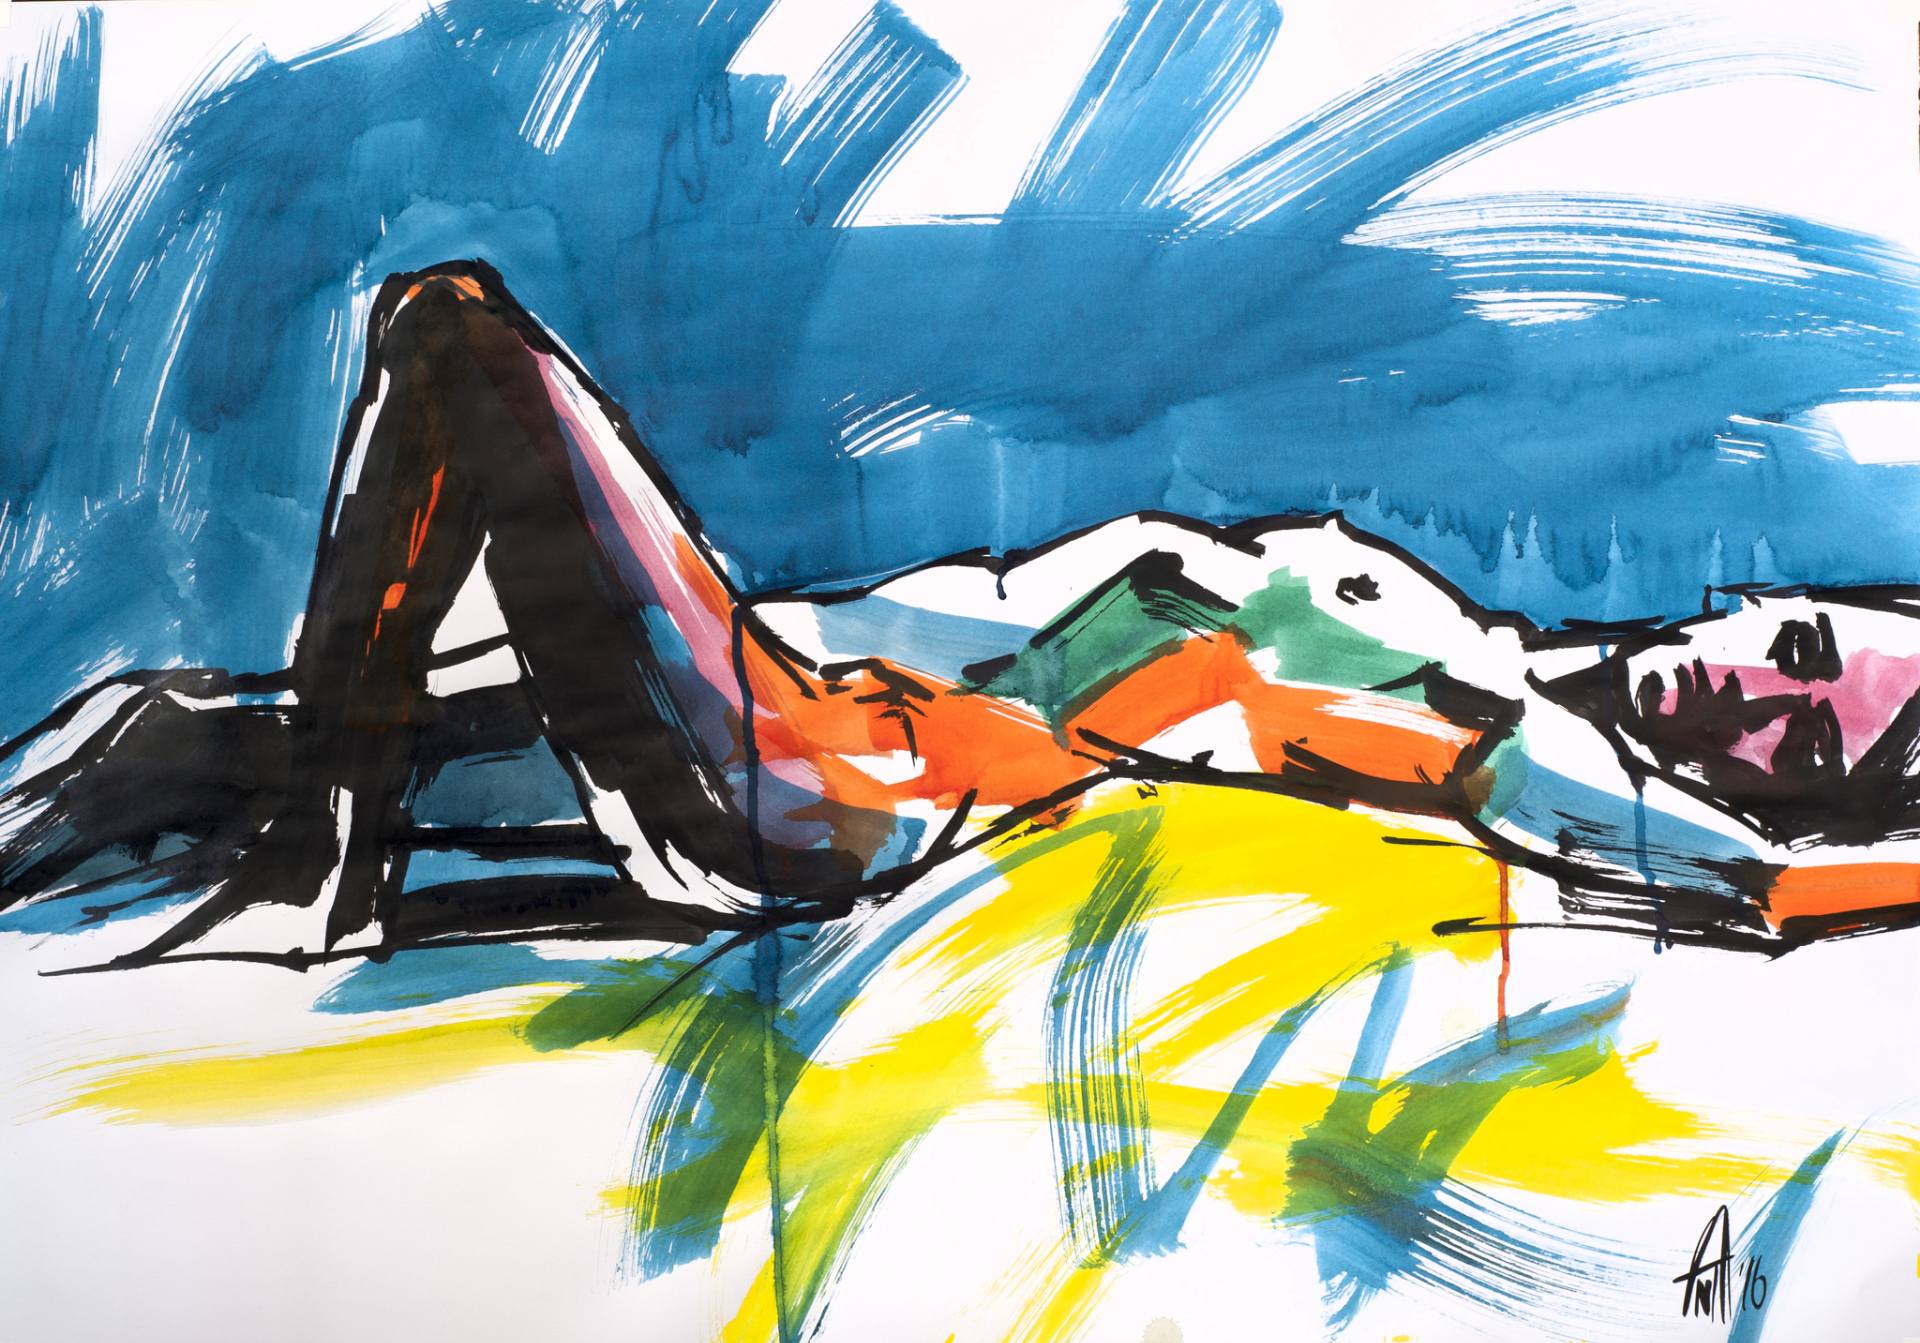
Breeze Drawing at Explore collection of Breeze Drawing
Breeze Drawing at Explore collection of Breeze Drawing
Breeze Drawing at Explore collection of Breeze Drawing

Drawing Contest Pictures of Breeze Image Page 1
